I look at gardens every day and most of them have the same problem.
They’re fine. Just fine. But nobody wants to spend time in them.
You probably have a vision for your outdoor space. Maybe it’s a place where you can actually relax after work. Or somewhere that doesn’t look like every other yard on the block. But right now it’s just grass, a few plants, and a patio that nobody uses.
I’m going to show you how to upgrade my garden homemendous in a way that actually works.
This isn’t about throwing money at expensive landscaping or following some cookie-cutter design template. It’s about understanding what makes a garden space feel complete.
We work with garden design every day at Homemendous. We see what works in real spaces and what doesn’t. We know which changes make the biggest difference and which ones are a waste of time.
By the end of this guide you’ll have a clear plan. Not just ideas. A real approach that covers plants, layout, and the details that turn a garden into a place you want to be.
You’ll know exactly what to do first, what can wait, and how to make your space work for the way you actually live.
Phase 1: Assess and Plan Your Perfect Garden Blueprint
Most garden advice tells you to start with a plan.
I’m going to tell you something different.
Don’t plan anything yet.
Walk your yard at different times of day first. Morning, noon, late afternoon. Notice where the sun hits and where shadows fall. This matters more than any design book will admit.
Here’s what nobody talks about. That perfect garden layout you saw on Pinterest? It was designed for someone else’s space. Their sun patterns. Their soil. Their life.
Not yours.
I learned this the hard way. Spent weeks planning a vegetable garden in what I thought was full sun. Turns out a neighbor’s tree cast shade for half the day. The tomatoes never stood a chance.
So before you sketch anything, figure out your canvas.
Check your soil. Grab a handful after it rains. Does it clump like clay or fall apart like sand? This tells you what’ll actually grow there.
Look for microclimates too. That corner by the fence that stays damp. The spot near the house that’s always warmer. These little zones change everything.
Now ask yourself why you want this garden.
Be honest. If you’re never going to maintain a vegetable patch, don’t plan one. If you need space for kids to play, that comes first. A quiet reading nook sounds nice until you realize you’d rather grill with friends.
Think in zones. Different areas for different things. Dining here, lounging there, maybe a utility spot you can hide behind some plants.
When you’re ready, sketch it out. Nothing fancy. Just rough shapes showing where things might go. This helps you see if the flow makes sense before you dig a single hole.
Want to know how to upgrade my garden homemendous? Start here. Get this part right and everything else gets easier.
Phase 2: Masterful Planting for Year-Round Interest
You know that feeling when you walk past a garden and can’t stop staring?
That’s not luck. It’s structure.
Most people plant whatever catches their eye at the nursery. They bring it home and stick it in the ground. Then they wonder why their garden looks flat or boring after a few weeks.
I used to do the same thing.
But here’s what changed everything for me. Understanding that great gardens work like good stories. They have layers. They have rhythm. They pull your eye exactly where you want it to go.
The Thriller, Filler, Spiller Method
This principle started with container planting but it works just as well in beds.
Your thriller is the showstopper. The tall plant that grabs attention first. In a bed, this might be a Japanese maple or a tall ornamental grass.
Fillers do the heavy lifting. They’re your mid-height perennials that fill space and add body. Think coneflowers or Russian sage. In the vibrant landscape of gaming, just as mid-height perennials like coneflowers and Russian sage create a harmonious backdrop in a garden, the concept of “Homemendous” embodies the idea that well-crafted filler content can elevate a game’s narrative and aesthetic, making it truly immersive and engaging for
Spillers soften edges. Low growers like creeping thyme or sweet alyssum that tumble over borders and tie everything together.
When you plant this way, you create visual hierarchy. Your eye knows where to look first, then where to wander next.
Build in Layers
I plant tall in the back and work my way forward. Sounds obvious but you’d be surprised how many people forget this.
Trees and large shrubs anchor the back. Mid-level perennials fill the middle ground. Ground covers and low annuals finish the front edge.
This gives you depth. Your garden stops looking like a flat lineup and starts feeling like an actual space you can move through (even if it’s just with your eyes).
Four Seasons of Interest
Here’s where most gardens fail. They look great in June and dead the rest of the year. I put these concepts into practice in How to Set up My Garden Homemendous.
I pick plants that earn their keep across seasons. Spring bulbs like daffodils kick things off. Summer bloomers like daylilies take over when those fade. Autumn brings out the fire in burning bush or ornamental grasses. Winter structure comes from evergreens and grasses that hold their shape under snow.
You get a garden that works all year instead of one that peaks for six weeks.
Color Theory Basics
I keep my color schemes simple.
Monochromatic gardens use shades of one color. All whites or all purples. This creates a calm, sophisticated look that’s hard to mess up.
Complementary colors sit opposite on the color wheel. Purple and yellow. Blue and orange. These combinations pop and create energy.
Hot colors (reds, oranges, yellows) make spaces feel active and close. Cool colors (blues, purples, whites) make areas feel larger and more peaceful.
Pick your mood first, then choose your palette. When you learn how to upgrade my garden homemendous, you’ll see these principles show up everywhere in successful designs.
The payoff? A garden that looks intentional instead of random. One that keeps giving you something to look at no matter the month.
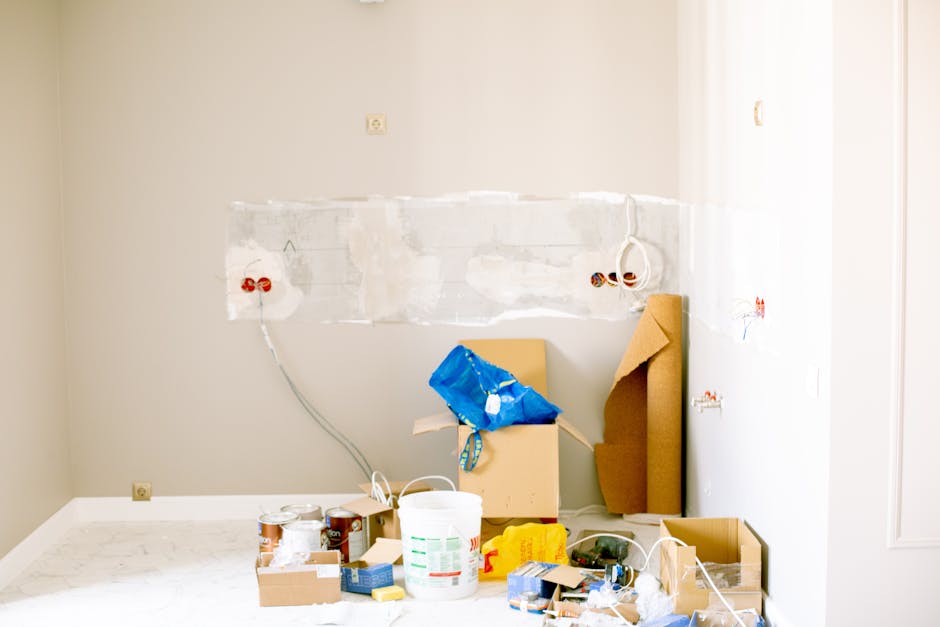
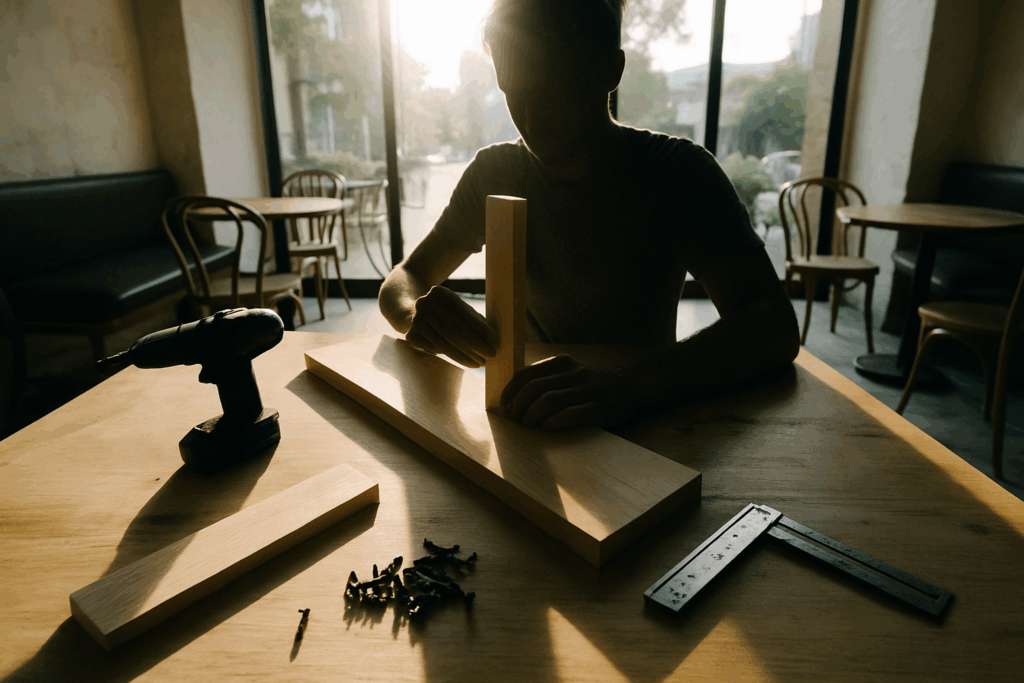
Phase 3: Building the ‘Bones’ with Hardscaping and Structure
You know what drives me crazy?
Walking into a garden that has beautiful plants but feels like a mess. No clear direction. No structure. Just stuff everywhere.
I see it all the time. People spend hundreds on plants and skip the hardscaping. Then they wonder why their garden looks chaotic instead of intentional.
Here’s the truth. Plants are great. But without the bones, your garden will never feel complete.
Some gardeners say hardscaping is overrated. They argue that nature doesn’t need paths or pergolas, so why should your garden? Just let things grow wild and free.
I get the appeal. There’s something romantic about that idea.
But here’s what actually happens. Without structure, you end up trampling plants trying to reach the back corner. Your beds blur into your lawn. And that climbing rose you planted? It flops over because it has nowhere to climb.
The bones matter. They’re what separate a garden from a yard with plants in it.
Start with pathways. They guide where people walk and where they look. I use gravel for informal gardens and pavers when I want something cleaner. Stepping stones work great if you’re on a budget (and they’re easier on your back than laying a full path).
Then add height. A pergola or trellis changes everything. It pulls your eye up and makes a small space feel bigger. Plus, climbing plants need support. Give them an arbor and watch what happens.
Edge your beds. This is non-negotiable. Clean edges keep grass out and give your garden that finished look. Metal edging works. So does stone. Just pick something and commit.
Make your patio the anchor. Think of it as your garden’s living room. I always tell people to figure out how to upgrade my garden homemendous by starting here. Choose materials that match your home and blend them into the surrounding plants.
The structure comes first. The plants fill in around it.
That’s how you build a garden that actually works.
Phase 4: Adding Personality with Ambiance and Decor
You’ve got the bones right. The plants are in. The hardscape looks good.
Now comes the fun part.
This is where your yard stops looking like a landscaping project and starts feeling like an actual outdoor room you want to spend time in. Transforming your outdoor space into a captivating retreat is no small feat, but with the right vision and the innovative ideas from the “Home Exterior Upgrade Homemendous,” your yard can seamlessly transition from a mere landscaping project to the ultimate outdoor room where memories are made.
Strategic Lighting
Most people stick with one porch light and call it done. That’s fine if you just want to see your front door at night.
But if you want your space to work after sunset? You need layers.
Task lighting goes where you actually do things. Over the grill. Along pathways. Near the outdoor dining table.
Ambient lighting sets the mood. String lights work great here (though skip the ones that look like a college dorm). Solar path lights. Low voltage landscape lights along garden beds.
Accent lighting is where you get to show off. Uplighting a specimen tree or architectural feature makes your whole yard look intentional.
The Sound of Water
Here’s a simple comparison. A yard without water sounds like traffic and neighbor conversations. A yard with water sounds like a retreat.
You don’t need a massive koi pond. A small tabletop fountain on your patio works. So does a pondless waterfall tucked into a corner bed.
The sound masks noise. Birds show up. The whole space feels calmer.
Furnish for Comfort
Your outdoor furniture should match your indoor style. If your living room is modern and minimal, wicker peacock chairs are going to look weird on your patio.
Durability matters more outside than in. Rain happens. Sun fades things. Buy pieces that can handle both and still look good in year three. I tackle the specifics of this in How to Set up My Apartment Homemendous.
Comfort matters too. Nobody sits on uncomfortable chairs no matter how good they look.
Incorporate Art and Focal Points
Every good home exterior upgrade homemendous needs something that catches your eye.
A sculpture. A vintage birdbath. An oversized planter with something dramatic in it.
This is how to upgrade my garden homemendous without redoing everything. One good focal point changes the whole feel of a space.
Just pick one per area. Too many and it looks cluttered.
Phase 5: Sustainable Practices for a Thriving, Low-Maintenance Space
I learned this the hard way.
My first garden? I planted whatever looked good at the nursery. Roses that needed constant care. Hydrangeas that wilted in my Oakland sun. I was watering twice a day and still watching things die.
What a mess.
Here’s what nobody tells you. Fighting your climate is expensive and exhausting.
Work with Nature, Not Against It
The right plant in the right place changes everything.
I started choosing natives and drought-tolerant options. California poppies instead of petunias. Lavender instead of impatiens. Suddenly I was watering half as much and getting better results.
You don’t need to turn your yard into a desert landscape (unless you want to). You just need to stop forcing plants to survive where they don’t belong.
Improve Your Soil
This is the single best thing you can do for plant health.
I used to skip this step. Thought it was optional. Then I spent a summer replacing dead plants and realized I was doing it backwards.
Add compost. Mix it into your beds every spring. Your soil will hold water better and your plants will actually thrive instead of just surviving.
It’s not exciting work. But it matters more than anything else when you how to upgrade my garden homemendous.
Smart Watering
Deep and infrequent beats shallow and constant every time.
I switched to soaker hoses in my beds. They put water right where roots need it without waste. And I water less often but for longer periods. After discovering the efficiency of soaker hoses that deliver water directly to the roots, I found myself inspired to explore creative ways to enhance my living space, prompting me to ask my friends for tips on “How to Decorate My Home Homemendous.
Strong roots grow down when they have to search for water. Weak roots stay shallow when you water every day.
Your plants get tougher. You do less work.
Your Enhanced Garden Awaits
You now have a complete framework for transforming your outdoor space.
The five phases I walked you through give you everything you need. Assessment, planning, planting, structure, and decor. Each one builds on the last.
I know how frustrating it is to look at a garden that doesn’t inspire you. You see the potential but you’re not sure where to start.
That’s exactly why this approach works. It takes you from that uninspired space to something that feels personal and alive. The planning keeps you focused. The planting brings it to life. The structure and decor make it yours.
Here’s your next move: Go outside right now and start the assessment phase. Walk your space. Take notes on what you see. Notice the sun patterns and problem spots.
That first step is easier than you think.
How to upgrade my garden homemendous starts with understanding what you’re working with. Once you have that clarity, everything else falls into place.
Your garden is waiting. You have the framework. Now it’s time to use it.
 There is a specific skill involved in explaining something clearly — one that is completely separate from actually knowing the subject. Malric Yelthorne has both. They has spent years working with home design inspirations in a hands-on capacity, and an equal amount of time figuring out how to translate that experience into writing that people with different backgrounds can actually absorb and use.
Malric tends to approach complex subjects — Home Design Inspirations, Gardening and Landscaping Advice, DIY Projects and Ideas being good examples — by starting with what the reader already knows, then building outward from there rather than dropping them in the deep end. It sounds like a small thing. In practice it makes a significant difference in whether someone finishes the article or abandons it halfway through. They is also good at knowing when to stop — a surprisingly underrated skill. Some writers bury useful information under so many caveats and qualifications that the point disappears. Malric knows where the point is and gets there without too many detours.
The practical effect of all this is that people who read Malric's work tend to come away actually capable of doing something with it. Not just vaguely informed — actually capable. For a writer working in home design inspirations, that is probably the best possible outcome, and it's the standard Malric holds they's own work to.
There is a specific skill involved in explaining something clearly — one that is completely separate from actually knowing the subject. Malric Yelthorne has both. They has spent years working with home design inspirations in a hands-on capacity, and an equal amount of time figuring out how to translate that experience into writing that people with different backgrounds can actually absorb and use.
Malric tends to approach complex subjects — Home Design Inspirations, Gardening and Landscaping Advice, DIY Projects and Ideas being good examples — by starting with what the reader already knows, then building outward from there rather than dropping them in the deep end. It sounds like a small thing. In practice it makes a significant difference in whether someone finishes the article or abandons it halfway through. They is also good at knowing when to stop — a surprisingly underrated skill. Some writers bury useful information under so many caveats and qualifications that the point disappears. Malric knows where the point is and gets there without too many detours.
The practical effect of all this is that people who read Malric's work tend to come away actually capable of doing something with it. Not just vaguely informed — actually capable. For a writer working in home design inspirations, that is probably the best possible outcome, and it's the standard Malric holds they's own work to.