What You’ll Get from This Guide
If you’ve ever wanted a sleek, floating shelf that doesn’t scream “Home Depot weekend warrior,” this guide has your back. No clunky brackets. No guesswork. Just a sharp, modern shelf that looks like it belongs on the wall because it does.
No matter where you are on the DIY spectrum first drill job or seasoned garage veteran the steps are broken down with clarity and purpose. You’ll get a clear plan, actionable tips, and no filler fluff. Expect a finished product that looks store bought, but built better because you made it.
We’ll also show you how to keep it from sagging, warping, or doing that annoying tilt that turns your framed art into a domino risk. From choosing quality materials to locking in the perfect level, this shelf is more than pretty it’s built to last.
Let’s get into it.
Tools and Materials You Need (2026 Edition)
Before you pick up that drill, get your workspace in order with the right gear. No fluff just what you actually need to do the job right.
Essential Tools
Power drill with bits (don’t skimp the better the drill, the smoother the install)
Level (digital or bubble, just make sure it works)
Stud finder (stud mount = more stability)
Tape measure (nothing fancy, just accurate)
Pencil (sharpen it. You’ll use it more than you think)
Screwdriver or impact driver (for tightening brackets)
Sandpaper or sanding block (for prepping the wood)
Materials
Wood shelf board (pine or oak for budget friendly; walnut or maple for more impact)
Heavy duty wall anchors (use drywall anchors only if you can’t hit a stud)
Screws (wood screws for attaching brackets to shelf and longer ones for mounting hardware to wall)
Brackets or cleats (floating style mount kits work best for a clean look)
Optional Finishing Supplies
Wood stain, paint, or sealant (your call go natural, bold, or blend in)
Polyurethane or wood wax (for added protection)
Painter’s tape (to keep clean edges if you’re painting or staining near walls)
You don’t need a truckload of gear just the right parts in the right order. Get this list right, and the build gets a whole lot easier.
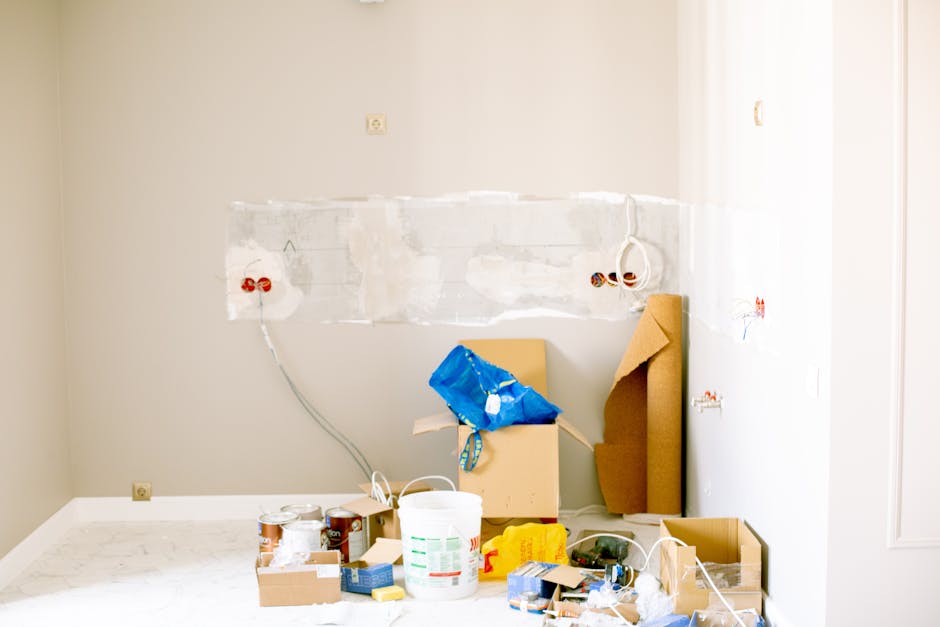
Planning & Measuring It Right
Before you even open the toolbox, take a beat to scope out your wall. Start by finding a stud because if you’re hanging anything heavier than a picture frame, drywall alone isn’t going to cut it. Use a stud finder (don’t eyeball it), and mark your studs lightly with a pencil. No studs where you want the shelf? You’ll need heavy duty drywall anchors rated for your shelf’s weight.
Next comes alignment. Grab your tape measure and a level yes, both. Measure the intended shelf height from the floor or another anchor point, then mark a straight line across the wall where the shelf will sit. Use a level to make sure that line isn’t sloping; trust the tool, not your gut. Uneven lines turn nice shelves into sad slopes fast.
As for shelf height and spacing, that depends on what you’re storing. Books? Around 10 12 inches between shelves. Decorative pieces? You’ve got more flex. Just make sure the shelf is at a readable or reachable height not floating randomly or getting in the way. And always check weight limits for example, a single floating shelf mounted into a stud can often handle 30 50 pounds safely. Measure twice. Drill once.
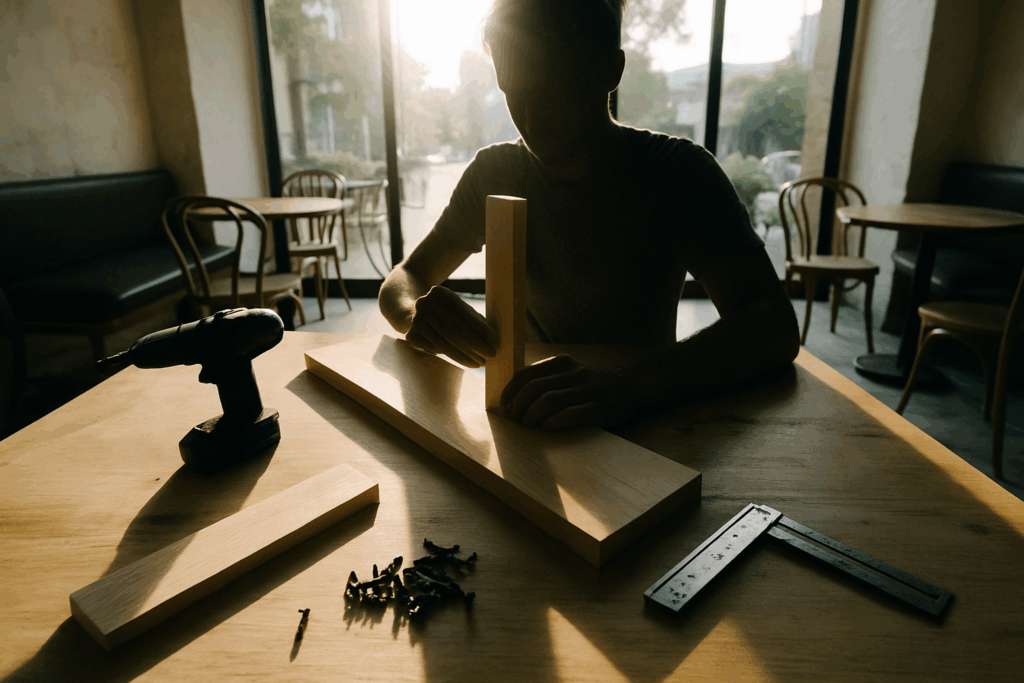
Step by Step Build Process
Step 1: Cut and Prep Your Wood
Start with solid wood pine, oak, or something dense and sturdy. Cut it to the length and depth you want (typical floating shelves range from 24″ to 72″ long and about 8″ to 12″ deep). Make all cuts clean and square a miter saw helps with precision. Then, sand down every surface. Focus on smoothing edges and rounding corners slightly if you’re going for a softer profile. Work your way from 80 grit up to 220 grit for a professional finish.
Step 2: Hollow Out the Shelf for Concealed Mounting
To make the shelf appear like it’s floating, you need to carve out a cavity in the back. A router or table saw can help you create a channel that matches the size of your mounting cleat or bracket. For deeper shelves, you might create a hollow box from three panels, leaving the back partially open. Either method works just make sure it’s snug enough to slide over the mount without wobbling.
Step 3: Install the Wall Cleat or Mounting Bracket
Use a stud finder to locate wood studs behind the wall floating shelves need solid backing. Secure your cleat or mounting bracket directly into at least two studs using heavy duty screws or bolts. Use a level throughout this process. If you’re working with drywall and no stud access, go heavy on wall anchors rated for high weight. Don’t skimp here. This part holds it all together.
Step 4: Slide Shelf Onto the Mount Securely
Once the cleat’s in place, carefully slide the shelf onto it. It should feel tight going in that means you did it right. Push it in all the way until it sits flush against the wall. Some people like to add wood glue or pre drill a few set screws from the top for extra grip. Either way, the shelf shouldn’t shift.
Step 5: Check for Level and Lock It In Place
Grab your bubble level and triple check: horizontal across the top, vertical against the wall edge. If there’s a lean or tilt, remove and adjust the cleat. Once level, you can lock everything in place with small finishing nails or screws from above or below just make sure they don’t show. Clean off dust. You’re done.
Now you’ve got a shelf that looks like it’s floating and it won’t move unless you want it to.
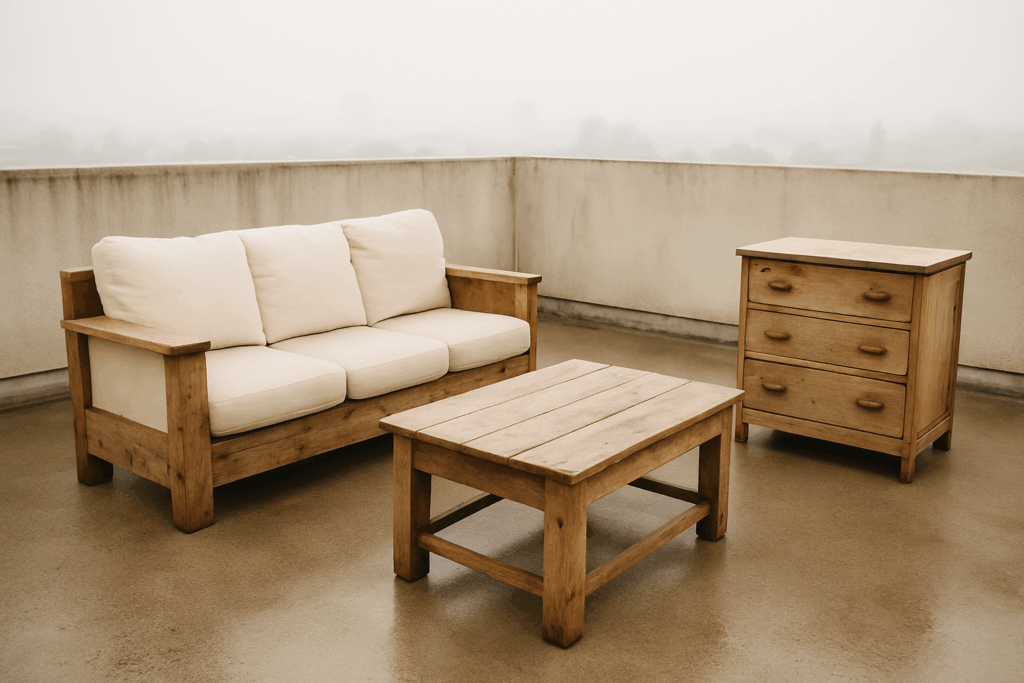
Finishing & Styling for Maximum Impact
Once your floating shelf is up and level, it’s time to put on the final touches. Start by sealing the wood if you want to show off its natural grain. Use a clear polyurethane or matte wood sealer it protects without adding too much shine. If you’re after a deeper tone, a wood stain can add warmth and character without hiding texture. Just remember: stain first, then seal.
Painting gives you more control over color and vibe. Go bold with a statement shade or keep to neutrals for a minimal look. A satin or eggshell finish usually hits the sweet spot easy to clean, not too glossy. Always sand lightly before applying your finish, and use a primer if you’re painting raw wood.
Once your shelf is sealed or painted and dry, think about how it lives in the room. Match it to the trim or furniture for cohesion, or contrast it against the wall for a pop. Styling the shelf is where it comes to life: stack some books with character, add a plant or two for texture, and mix in personal objects or framed photos. Layer height and shape to keep it from looking stiff. It’s not a showroom it’s a visual pause in your space.
Want more ideas to enhance your space sustainably?
Check out Upcycling Furniture: Creative Ways to Breathe New Life into Old Pieces
Common Mistakes to Avoid
Even the most stylish floating shelf can quickly turn into a headache if you miss a few key steps. Here are the most common missteps DIYers make and how to avoid them.
Skipping the Stud Finder
Mounting your shelf without securing it into a wall stud is a fast track to a sagging or collapsing shelf. Don’t guess use a stud finder.
Why it matters: Drywall anchors alone often can’t bear substantial weight.
Pro tip: Mark at least one stud location and center your bracket or cleat there for maximum stability.
Using the Wrong Wall Anchors
Not all anchors are created equal. Choosing the wrong type may result in loose fittings or, worse, a shelf that pulls away from the wall over time.
For drywall: Use toggle bolts or high quality expansion anchors.
For masonry: Choose masonry screws or lag shields.
Check compatibility: Always match the anchor type to your wall material and weight requirement.
Rushing the Leveling Step
You might be tempted to eyeball it, but uneven shelves are noticeable and frustrating.
Take your time: Use a bubble level or laser level during both the mounting and final shelf placement.
Double check: Confirm levelness after fastening to ensure the weight of materials hasn’t shifted alignment.
Avoiding these basic mistakes ensures your shelf isn’t just beautiful it’s safe and built to last.
Built to Last
A floating shelf should feel like it’s part of the wall not something you’re nervous to put a book on. Start by building it right: use quality hardwood or a strong plywood core, and always mount directly into studs or with heavy duty anchors. Light duty drywall plugs won’t cut it over the long haul.
To maintain strength, don’t overload it. Every shelf has a limit, even when installed properly. Check your brackets or cleats now and then (every few months is smart). If anything wobbles or pulls away from the wall, tighten it up before damage spreads.
Designs aren’t forever. If your style changes or the shelf looks worn, don’t be afraid to swap it out or give it a refresh. Sand and repaint. Stain it darker. Or rebuild with a new profile that better fits your space. Keeping your shelves in good shape is less about big fixes and more about small, steady care.
 Jordanae Lewisters has opinions about sustainable living solutions. Informed ones, backed by real experience — but opinions nonetheless, and they doesn't try to disguise them as neutral observation. They thinks a lot of what gets written about Sustainable Living Solutions, DIY Projects and Ideas, Home Design Inspirations is either too cautious to be useful or too confident to be credible, and they's work tends to sit deliberately in the space between those two failure modes.
Reading Jordanae's pieces, you get the sense of someone who has thought about this stuff seriously and arrived at actual conclusions — not just collected a range of perspectives and declined to pick one. That can be uncomfortable when they lands on something you disagree with. It's also why the writing is worth engaging with. Jordanae isn't interested in telling people what they want to hear. They is interested in telling them what they actually thinks, with enough reasoning behind it that you can push back if you want to. That kind of intellectual honesty is rarer than it should be.
What Jordanae is best at is the moment when a familiar topic reveals something unexpected — when the conventional wisdom turns out to be slightly off, or when a small shift in framing changes everything. They finds those moments consistently, which is why they's work tends to generate real discussion rather than just passive agreement.
Jordanae Lewisters has opinions about sustainable living solutions. Informed ones, backed by real experience — but opinions nonetheless, and they doesn't try to disguise them as neutral observation. They thinks a lot of what gets written about Sustainable Living Solutions, DIY Projects and Ideas, Home Design Inspirations is either too cautious to be useful or too confident to be credible, and they's work tends to sit deliberately in the space between those two failure modes.
Reading Jordanae's pieces, you get the sense of someone who has thought about this stuff seriously and arrived at actual conclusions — not just collected a range of perspectives and declined to pick one. That can be uncomfortable when they lands on something you disagree with. It's also why the writing is worth engaging with. Jordanae isn't interested in telling people what they want to hear. They is interested in telling them what they actually thinks, with enough reasoning behind it that you can push back if you want to. That kind of intellectual honesty is rarer than it should be.
What Jordanae is best at is the moment when a familiar topic reveals something unexpected — when the conventional wisdom turns out to be slightly off, or when a small shift in framing changes everything. They finds those moments consistently, which is why they's work tends to generate real discussion rather than just passive agreement.