I’ve seen too many people give up on their gardens before they even get started.
You want a yard that looks great and doesn’t eat up your entire weekend. But every time you search for advice, you get either oversimplified tips that don’t work or complicated plans that require a degree in horticulture.
Here’s the truth: most garden failures happen because people skip the planning phase and jump straight to buying plants.
I’m going to walk you through a simple framework that takes the guesswork out of gardening. We’ve helped thousands of homeowners turn their yards into spaces they actually want to spend time in.
This guide covers everything from assessing your space and soil to choosing plants that will thrive in your specific conditions. No fluff. No unrealistic expectations.
How to set up my garden homemendous starts with understanding what you’re working with. Not what you wish you had.
By the end of this article, you’ll have a clear plan. You’ll know exactly what to plant, where to plant it, and how to maintain it without burning out.
Your garden should bring you joy, not stress. Let’s make that happen.
Step 1: The Foundation – Planning Your Perfect Garden
Most people skip this part.
They see a sunny patch of dirt and start digging. Then six months later they’re wondering why their tomatoes won’t grow or why half their plants are dead.
I learned this the hard way when I planted my first garden bed. Spent $200 on plants that were completely wrong for my zone. They lasted about three weeks.
Here’s what you need to do first.
Assess Your Space
Walk outside and really look at what you’re working with. Not what you wish you had. What’s actually there.
Your climate zone matters more than you think. I’m in Oakland where we’re Zone 9b. That means I can grow things year-round that someone in Minnesota can’t touch. Check your USDA zone online (it takes two minutes).
Now test your soil. Grab a handful when it’s slightly damp. If it clumps into a tight ball, you’ve got clay. If it falls apart immediately, that’s sandy soil. If it holds shape but crumbles with a light touch? That’s the good stuff.
Sun exposure is where most people guess wrong. You need to actually watch your yard throughout the day. That spot you think gets full sun? It might only get four hours because of that neighbor’s tree. Mark down where the sun hits from morning to evening.
Define Your Function
What do you actually want from this garden?
A vegetable patch means you need at least six hours of direct sun. A shade garden under trees? That’s a completely different plant list. A pollinator garden needs specific flowers that bloom at different times.
Be honest about maintenance too. If you travel for work, don’t plan a garden that needs daily watering.
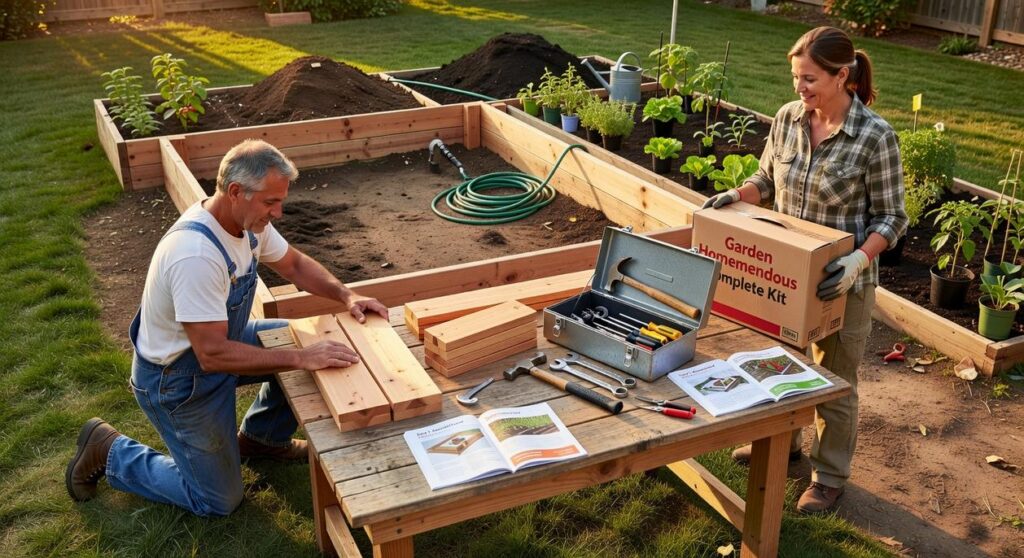
Set a Realistic Budget
Let me break down what a 10×10 ft garden bed actually costs:
Soil and compost: $80-120
Plants or seeds: $50-100
Basic tools (if you’re starting from zero): $60-80
Edging or borders: $40-60
That’s $230-360 for a starter bed. You can go cheaper with seeds instead of transplants. Or spend more on raised bed materials.
(I always tell people to buy good tools once instead of cheap tools three times.)
Create a Basic Sketch
Grab some graph paper or just use the back of an envelope.
Draw your space to scale. Mark where paths need to go so you can actually reach your plants without stepping on them. If you want a bench or seating area, put that in now.
Then divide the planting area into zones based on what you learned about sun and soil. The sunny corner? That’s for vegetables or roses. The shady spot under the eave? Hostas or ferns.
Don’t worry about making it pretty yet. You’re figuring out how to set up my garden Homemendous style, which means function first. The aesthetics come later once you know everything will actually grow. As you dive into the world of gardening, remember that embracing a Homemendous approach prioritizes practicality, allowing you to cultivate a thriving space before worrying about how it looks.
This planning phase feels boring. I get it. You want to start planting.
But spend an afternoon doing this right and you’ll save yourself months of frustration and wasted money.
Step 2: Plant Selection – The Heart of Your Garden’s Beauty
Everyone tells you to pick plants you love.
That’s terrible advice.
I see it all the time. Someone falls in love with a hydrangea at the nursery and plants it in full sun. Six weeks later, it’s dead. Or they grab those gorgeous tropical plants because they look amazing, then wonder why they don’t survive winter in Michigan.
Here’s what actually matters.
Your garden doesn’t care what you love. It cares about what works in the space you have.
The Right Plant, Right Place Rule
I know this sounds boring. But matching plants to your actual conditions is the only way this works.
You’ve got shade? Stop fighting it with sun-loving roses. You’ve got clay soil? Embrace plants that thrive in it instead of spending hundreds trying to change it.
When I show people how to set up my garden homemendous, I start with their conditions first. Not their Pinterest board.
Check your sun exposure. Most people guess wrong about this. What you think is full sun might only get four hours of direct light (that’s part shade, by the way). We break this down even more in How to Decorate My Home Homemendous.
Test your soil. Is it sandy or clay? Acidic or alkaline? You can work around almost anything once you know what you’re dealing with.
Annuals vs. perennials. Annuals die after one season but give you nonstop color. Perennials come back every year but usually bloom for shorter periods. I use both.
Most gardeners lean too hard on perennials because they seem like better value. But annuals fill gaps and keep things interesting while your perennials are dormant.
Shrubs and trees create structure. They’re your backbone. Everything else is decoration.
Four Seasons of Interest
This is where people get it wrong again.
They plant everything that blooms in spring and summer. Then their garden looks dead for six months.
I pick plants that do something in every season. Spring bulbs like tulips and daffodils. Summer bloomers like coneflowers. Fall color from asters or ornamental grasses. Winter structure from evergreens or plants with interesting bark.
You don’t need a million plants. You need the right ones spread across the calendar.
For pollinators: Lavender, bee balm, and native wildflowers work better than most people realize.
For shade: Hostas are fine, but ferns and heuchera add more texture.
For kitchen gardens: Rosemary, thyme, and sage. They look good and you’ll actually use them.
The goal isn’t perfection. It’s creating something that works with what you have instead of against it.
Step 3: Design Principles for a Visually Stunning Layout
You can have the healthiest plants in the world but if they’re scattered randomly across your yard, something will feel off.
I learned this the hard way when I first started gardening. I’d buy plants I liked and stick them wherever there was space. The result? A mess that looked more like a plant storage area than an actual garden. Just as I learned the importance of thoughtful plant placement in my gardening journey, I now approach my gaming setup with the same care, striving for a balance that transforms my space into a Homemendous retreat rather than a chaotic clutter of consoles and cables.
Here’s what changed everything for me.
The Thriller Filler Spiller Method
This is the easiest way to create depth in any planting bed or container.
Put your tall dramatic plants in the back (or center if it’s a container). These are your thrillers. Think ornamental grasses or tall salvias.
Your fillers go in the middle. These are mounding plants that take up space and connect everything. Petunias and geraniums work great here.
Then add spillers at the front or edges. These trail over and soften hard lines. Creeping Jenny and sweet potato vine are perfect.
The whole setup creates layers that make your garden look intentional instead of random. Same concept applies whether you’re working on how to set up my garden homemendous style or just filling a few pots on your patio.
Color Schemes That Actually Work
You don’t need to be an artist to get this right.
Pick colors that sit next to each other on the color wheel (analogous). Blues with purples. Yellows with oranges. This creates a calm cohesive look.
Or go with colors opposite each other (complementary) for more drama. Purple and yellow. Red and green. This ties directly into what we cover in How to Upgrade My Garden Homemendous.
I stick with three colors max in any one area. More than that and things start looking chaotic.
Mix Your Textures
This is where most people miss out.
If every plant has the same leaf shape and size, your garden will bore people to death. Even if the colors are great.
Pair fine textures with bold ones. Wispy grasses next to big hosta leaves. Delicate ferns beside chunky succulents.
The contrast makes each plant stand out more.
Give People Something to Look At
Every garden needs a focal point.
Could be a striking plant like a Japanese maple. Or something non-living like a birdbath or a simple bench.
Place it where you want people’s eyes to go first. Usually that’s at the end of a path or in the center of a bed.
Without this anchor, your eye just wanders around with nowhere to land. With it, the whole space feels pulled together.
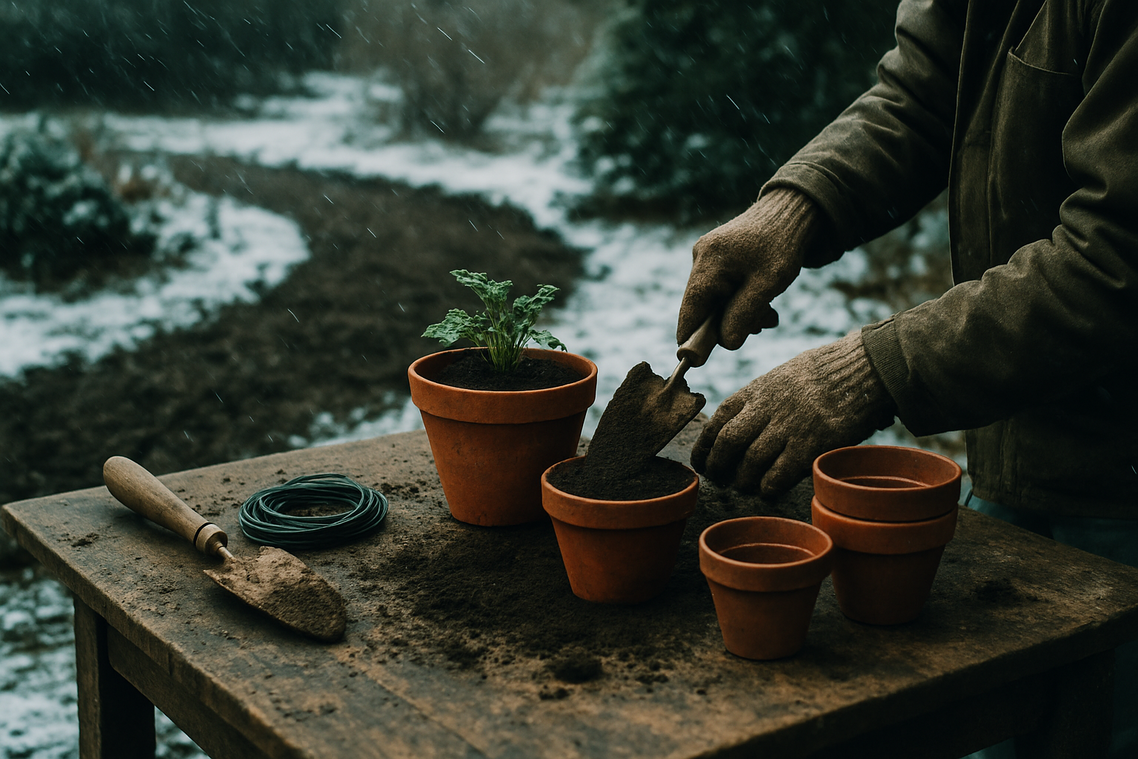
Step 4: Bringing it to Life – Essential Tools & Maintenance
You don’t need a shed full of equipment.
I talked to Sarah Chen last spring. She’d just bought her first house and wanted to start a garden. “I went to the hardware store and felt completely lost,” she told me. “There were like fifty different types of shovels.”
Here’s what I told her then and what I’ll tell you now.
Start with four things:
• A hand trowel for digging small holes
• A decent pair of gardening gloves
• Something to water with (a can or hose works fine)
• Hand pruners for trimming
That’s it. You can add more later if you need to.
But before you plant anything, we need to talk about your soil.
Most people skip this part. They dig a hole, drop in a plant, and wonder why nothing grows. Your soil needs help. Mix in some compost or organic matter before you put anything in the ground. (This is how to set up my garden homemendous style without wasting money on plants that won’t make it.)
Once your plants are in, the real work starts.
Water deep but not often. Your plants need their roots to grow down, not spread out near the surface. I water twice a week instead of every day. It sounds wrong but it works better.
Throw down some mulch around your plants. It keeps moisture in and weeds out. Two birds, one stone.
My neighbor Mike asked me last month, “Why are my tomato leaves turning yellow?” Sometimes it’s pests. Sometimes it’s disease. Most of the time it’s watering issues.
Check the homemendous garden infoguide by homehearted for specific problems. For pests, I use soapy water before I reach for chemicals. Works on aphids and doesn’t kill the good bugs. For anyone looking to enhance their living space with a touch of greenery and style, exploring the guide on “How to Set up My Apartment Homemendous” can be the perfect starting point to transform your home into a vibrant oasis while tackling common issues like pests with natural solutions.
Enjoy the Fruits of Your Labor
You now have the complete blueprint for creating a garden that’s a true extension of your home.
No more confusion about where to start or what comes next. That overwhelm you felt when staring at an empty yard? It’s gone.
By following a structured process of planning, selecting, and designing, you’ve set yourself up for success. Your garden will be a source of pride and relaxation, not another project that stresses you out.
Here’s what I want you to do: Start with one small area. Pick a corner of your yard or a single bed. Apply these principles there first.
Watch what happens when you work with intention instead of guessing.
Your dream garden won’t appear overnight. But it will take root if you give it the right foundation.
Start small. Stay consistent. And remember that every great garden began with someone who decided to just begin.
Set up my garden homemendous and see what grows.
Happy gardening.
 There is a specific skill involved in explaining something clearly — one that is completely separate from actually knowing the subject. Malric Yelthorne has both. They has spent years working with home design inspirations in a hands-on capacity, and an equal amount of time figuring out how to translate that experience into writing that people with different backgrounds can actually absorb and use.
Malric tends to approach complex subjects — Home Design Inspirations, Gardening and Landscaping Advice, DIY Projects and Ideas being good examples — by starting with what the reader already knows, then building outward from there rather than dropping them in the deep end. It sounds like a small thing. In practice it makes a significant difference in whether someone finishes the article or abandons it halfway through. They is also good at knowing when to stop — a surprisingly underrated skill. Some writers bury useful information under so many caveats and qualifications that the point disappears. Malric knows where the point is and gets there without too many detours.
The practical effect of all this is that people who read Malric's work tend to come away actually capable of doing something with it. Not just vaguely informed — actually capable. For a writer working in home design inspirations, that is probably the best possible outcome, and it's the standard Malric holds they's own work to.
There is a specific skill involved in explaining something clearly — one that is completely separate from actually knowing the subject. Malric Yelthorne has both. They has spent years working with home design inspirations in a hands-on capacity, and an equal amount of time figuring out how to translate that experience into writing that people with different backgrounds can actually absorb and use.
Malric tends to approach complex subjects — Home Design Inspirations, Gardening and Landscaping Advice, DIY Projects and Ideas being good examples — by starting with what the reader already knows, then building outward from there rather than dropping them in the deep end. It sounds like a small thing. In practice it makes a significant difference in whether someone finishes the article or abandons it halfway through. They is also good at knowing when to stop — a surprisingly underrated skill. Some writers bury useful information under so many caveats and qualifications that the point disappears. Malric knows where the point is and gets there without too many detours.
The practical effect of all this is that people who read Malric's work tend to come away actually capable of doing something with it. Not just vaguely informed — actually capable. For a writer working in home design inspirations, that is probably the best possible outcome, and it's the standard Malric holds they's own work to.