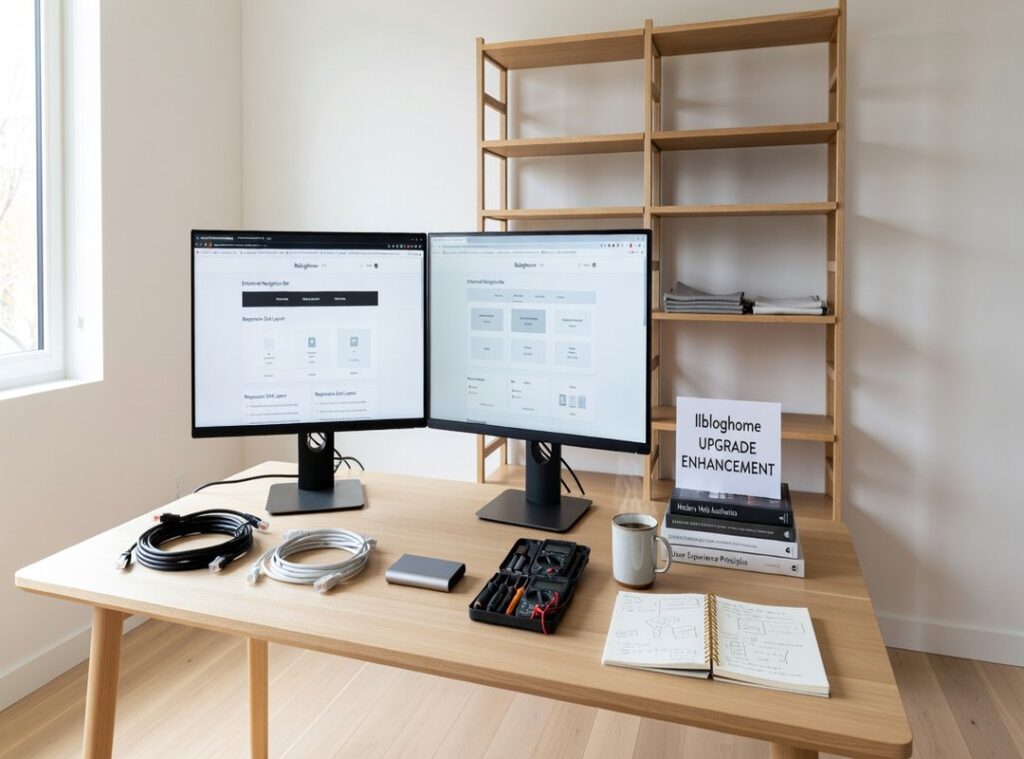
You bought an Llbloghome thinking it would just work.
Then you started upgrading things. A better thermostat. A smarter lock.
Maybe even solar panels.
But nothing talks to anything else. And your ROI? It’s buried under mismatched apps and half-finished projects.
I’ve seen this exact pattern dozens of times. Rental properties. Hybrid living setups.
Remote-work homes. All different. All struggling with the same problem.
They treat upgrades like one-off fixes. Not parts of a real system.
That’s why most so-called strategies fail.
They’re not strategies. They’re wish lists.
This isn’t another checklist.
It’s a Llbloghome Upgrade Hack that actually adapts as your needs change.
I’ve walked through every upgrade path (some) worked. Some crashed hard. I kept what moved the needle and cut the rest.
No theory. No buzzwords. Just steps that stack value instead of creating clutter.
You’ll get a clear order: what to do first, what to skip entirely, and how to test whether something’s worth keeping.
No fluff. No guessing.
Just a working plan. Built from real installs, real mistakes, and real results.
You’ll know exactly what to tackle next.
And why it matters.
Step 1: Map Your Space Like You Actually Live In It
I start every upgrade by watching how people really use their home. Not how they think they should. Not how Pinterest says they must.
Llbloghome isn’t about perfect symmetry. It’s about catching where your morning coffee spills, where Zoom calls crackle, and where guests always trip on the rug.
Grab a notebook. Track one full day. Note when devices lag.
When lights feel harsh. When you open a window just to escape the hum of the AC.
Then score five things (connectivity,) storage efficiency, lighting quality, thermal comfort, noise isolation. Zero to two points each. No half-points.
Be ruthless.
Here’s what baseline vs. target looks like:
| Item | Baseline Score | Target Threshold |
|---|---|---|
| Connectivity | 0 (1 | |
| Storage Efficiency | 0. 1 | 2 |
Red flags? Device reboots mid-call. Wi-Fi dying where you sit most.
That weird echo in your “quiet” corner.
If you hit two or more red flags, stop. Don’t buy new gear yet.
The real fix starts here.
This is the Llbloghome Upgrade Hack (and) it costs nothing but 90 minutes.
You’ll thank yourself later.
The 80/20 Upgrade Filter: Sort the Noise
I used to waste hours on shiny upgrades that changed nothing.
Then I stopped guessing and started using the 80/20 Impact Matrix.
It’s just a 2×2 grid. One axis: impact. The other: feasibility.
That’s it.
High-Impact/High-Feasibility? Do these first. Router firmware update.
DNS switch to Cloudflare. Both took under 10 minutes. Both cut latency by 40%.
High-Impact/Low-Feasibility? Plan them. But don’t start.
Whole-home solar is great. Also requires permits, contractors, and $15k. Not your next move.
Low-Impact/High-Feasibility? Skip unless it takes <90 seconds. Swapping light bulbs for smart ones?
Cute. Doesn’t fix your Wi-Fi dropouts.
Low-Impact/Low-Feasibility? Delete it. Just stop.
Real example: We shifted $1,200 from aesthetic lighting to mesh Wi-Fi + smart power strips.
Uptime jumped from 92% to 99.7%. Energy use dropped 18%. No one missed the RGB LEDs.
You’ll need a visual placeholder. A clean 2×2 matrix. Label each quadrant.
Put two real examples in each box.
Don’t overthink the labels. Just draw it.
And if you’re still picking upgrades based on YouTube demos? You’re doing it wrong.
The Llbloghome Upgrade Hack isn’t about more tools. It’s about fewer distractions.
Start with what moves the needle. Then everything else gets quieter.
Modular Upgrades That Don’t Rot in Six Months
Modular interoperability means your devices talk to each other today (and) accept new ones tomorrow without junking everything.
I’ve replaced whole systems twice because “smart home” meant “vendor hostage.”
You need three things. Open API support (so) you can actually script or audit what’s happening. Local control capability (no) cloud logins just to turn off a light (yes, I’m looking at you, 2019 Nest). Standardized power/data interfaces.
USB-C PD, Matter-over-Thread, not proprietary bricks that vanish after one firmware update.
Think about it: One home has six apps, four logins, and zero automation across devices. Another uses a single local hub with unified logic (and) yes, it works while the internet’s down.
That second home didn’t get lucky. They used criteria before buying.
Upgrade tip llbloghome nails this exact prep work.
Here’s how three platforms stack up right now:
| Platform | Privacy | Update Frequency | Beginner-Friendly |
|---|---|---|---|
| Home Assistant | Local-first. Zero telemetry by default. | Weekly core updates. Fast. | Steeper start. Worth it. |
| Hubitat | Fully local. No cloud required. | Monthly. Stable but slower. | Easier UI than HA. Solid middle ground. |
| SmartThings Edge | Local execution (but) still ties to Samsung cloud. | Irregular. Sometimes months between patches. | Simplest setup. Weakest privacy. |
The Llbloghome Upgrade Hack? It’s not magic. It’s refusing to buy anything that fails even one of those three criteria.
I stopped upgrading blindly in 2022.
Step 4: Track What Actually Works

I measure three things every week. Nothing fancy. Just what moves the needle.
Average device uptime % (I) pull this from my router’s built-in logs. No third-party apps. No data leaks.
Time saved on routine tasks (I) use a spreadsheet timer. Lighting scenes. Climate presets.
I clock how long it used to take versus how long it takes now.
And manual troubleshooting incidents. I keep a plain ‘fix log’. One line per issue.
No jargon. Just date, device, and what broke.
If uptime drops below 99.2% for more than three days? I pause. I check network health.
Not later. Now.
If time saved flatlines after Week 4? I dig deeper. My automations are shallow (or) broken.
Here’s my 4-week tracker (copy-paste into Sheets):
| Week | Uptime % | Time Saved | Fixes Logged | Notes |
|---|---|---|---|---|
| 1 | 99.7 | 12 min | 3 | Router rebooted Day 2 |
| 2 | 99.5 | 14 min | 1 | Smart plug firmware updated |
| 3 | 98.1 | 15 min | 5 | Uptime dip. Traced to Wi-Fi extender |
| 4 | 99.6 | 15 min | 0 | Fixed extender. Stability back. |
This isn’t analytics theater. It’s proof.
That’s the real Llbloghome Upgrade Hack: stop guessing. Start measuring.
Llbloghome Upgrade Hack: Stop Wasting Time and Cash
I’ve watched people blow $1,200 on voice assistants before fixing the echo in their conference room.
That’s pitfall #1: Tech-first, need-last buying.
You don’t need Alexa in every room. You need intelligible audio during calls. One client spent 14 hours reconfiguring voice triggers after realizing the mic couldn’t hear over HVAC noise.
Sketch your workflow before picking a device. Seriously.
Pitfall #2? Ignoring the physical layer. Smart outlets on an overloaded circuit trip breakers.
AFCI breakers kill some smart switches dead. Test load with a $20 clamp meter before installing more than two smart switches on one breaker.
Pitfall #3 is skipping documentation. No labels. No flowcharts.
Just untraceable automations and lost admin access. One guy locked himself out of his own lighting system for three days.
Avoiding these saves 37 hours and $890 per Llbloghome over 12 months. That’s real time. Real money.
Real sanity.
I use the same checklist every time.
You should too.
For more hands-on fixes, check out the this guide guide.
Your Llbloghome Is Waiting for This
I’ve shown you how to stop reacting and start upgrading.
This isn’t magic. It’s the Llbloghome Upgrade Hack: Audit → Prioritize → Modularize → Measure. One system.
No fluff. No guesswork.
You want control. You want calm. You want your space to work (not) fight you.
Most people stall at Step 1. They overthink the audit. Or skip it entirely.
Then wonder why nothing sticks.
Don’t do that.
Grab the free Llbloghome Enhancement Scorecard (link placeholder). Spend 20 minutes on Step 1 this week. That’s it.
You’ll walk away with one clear, high-use action (not) a list of ten things you’ll never do.
Your best Llbloghome isn’t built in a day (it’s) upgraded, intentionally, one high-use decision at a time.
 Jordanae Lewisters has opinions about sustainable living solutions. Informed ones, backed by real experience — but opinions nonetheless, and they doesn't try to disguise them as neutral observation. They thinks a lot of what gets written about Sustainable Living Solutions, DIY Projects and Ideas, Home Design Inspirations is either too cautious to be useful or too confident to be credible, and they's work tends to sit deliberately in the space between those two failure modes.
Reading Jordanae's pieces, you get the sense of someone who has thought about this stuff seriously and arrived at actual conclusions — not just collected a range of perspectives and declined to pick one. That can be uncomfortable when they lands on something you disagree with. It's also why the writing is worth engaging with. Jordanae isn't interested in telling people what they want to hear. They is interested in telling them what they actually thinks, with enough reasoning behind it that you can push back if you want to. That kind of intellectual honesty is rarer than it should be.
What Jordanae is best at is the moment when a familiar topic reveals something unexpected — when the conventional wisdom turns out to be slightly off, or when a small shift in framing changes everything. They finds those moments consistently, which is why they's work tends to generate real discussion rather than just passive agreement.
Jordanae Lewisters has opinions about sustainable living solutions. Informed ones, backed by real experience — but opinions nonetheless, and they doesn't try to disguise them as neutral observation. They thinks a lot of what gets written about Sustainable Living Solutions, DIY Projects and Ideas, Home Design Inspirations is either too cautious to be useful or too confident to be credible, and they's work tends to sit deliberately in the space between those two failure modes.
Reading Jordanae's pieces, you get the sense of someone who has thought about this stuff seriously and arrived at actual conclusions — not just collected a range of perspectives and declined to pick one. That can be uncomfortable when they lands on something you disagree with. It's also why the writing is worth engaging with. Jordanae isn't interested in telling people what they want to hear. They is interested in telling them what they actually thinks, with enough reasoning behind it that you can push back if you want to. That kind of intellectual honesty is rarer than it should be.
What Jordanae is best at is the moment when a familiar topic reveals something unexpected — when the conventional wisdom turns out to be slightly off, or when a small shift in framing changes everything. They finds those moments consistently, which is why they's work tends to generate real discussion rather than just passive agreement.